


Repair Seams Properly | Learn to process with Kathrin #03
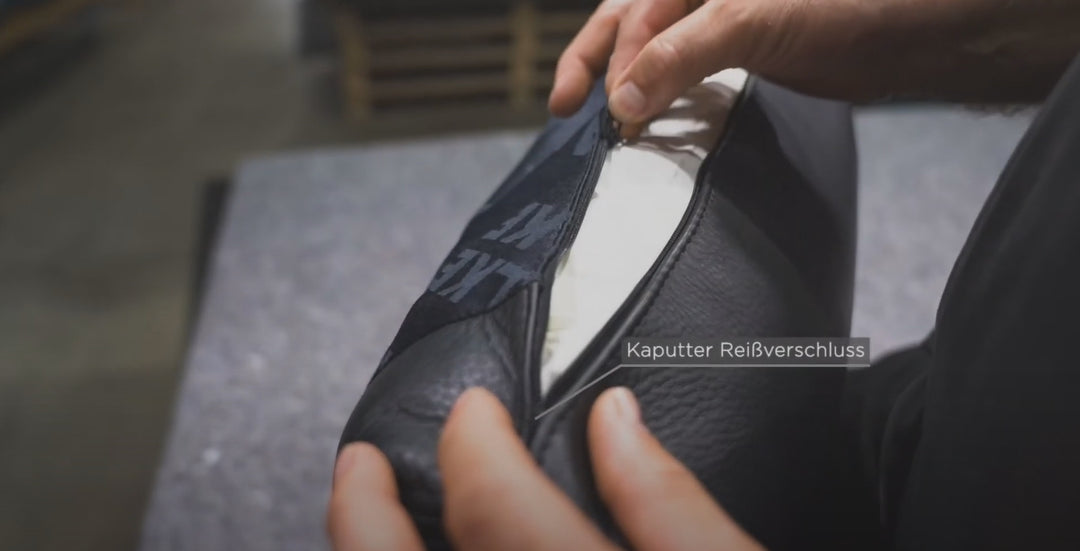
A sofa has to go through a lot. It is often the fine seams that suffer the most. We are convinced that a small hole is no reason to dispose of a sofa. Kathrin will show you how to repair a seam correctly in just a few minutes and what you need to pay particular attention to.
that's how it works

Step 1: First you thread two Insert circular needles and tie a knot at the end. You can also use a single needle, but you'll have to rethread each stitch.
Note: We are working with fabric in the video. However, the same technique is equally applicable to leather!

Step 2: Next, insert the circular needles to the left and right of the open area and pull them down along the open area.
Important! – In the case of leather, leave enough space for the open area so that there is enough material for sewing and the area does not tear open again!

Step 3: Now you always sew at the same distance crosswise down to the bottom. Make sure to always pull the threads together enough so that you don't see the seam later.

Step 4: At the end of the open space you knot the two threads together.

Step 5.1: Then pull the threads down one last time and tighten them.

Step: 5.2: Now you cut off the ends of both threads.

Step 6: Now hold both threads between your index finger and thumb. Then you put the right thread over the left side as shown in the photo to create a loop.

Step 7: Next, pass the right thread under the left thread.

Step 8: Then you tighten the loop. Finally, you then guide the thread down under one of the sides of the formerly open area and pull it tight. 
Step 9: Now you cut the thread. So it is not visible later.

Step 10: Done!
Interior novelties
View all


More repair guides
Alle anzeigen
Leave a comment